If you are looking for a simple, easy do-it-yourself backyard project, I am suggesting this great fire pit installation that is perfect for outdoor gathering with friends and family. We use this fire pit all the time, especially during the colder months, and it is a hit with our guests. I am going to list the steps and instructions that I used to build our fire pit, and guess what? It is not that expensive to complete!
To construct this fire pit project, you will need:
48 trapezoid pavers ($1.38 each)
48 rectangle pavers ($0.68 each)
1 bag of leveling sand ( $4.78)
2 bags of lava rock ($5.68 each)
1 bag crushed gravel paver base ($6.18)
1 tube construction adhesive ($3.78)
1 bubble level ($4.97)
1 stake ($3.97)
1 can marking paint ($9.98)
String ($5.98)
1 hand tamper ($35.98)
1 shovel ($9.98)
All of the above items and prices are courtesy of Lowes.
First you want select the perfect location that your fire pit will live. You want your fire pit to be a safe distance away from any structures, low hanging trees, and to be close to a water source.
Next you want to choose the style and shape of your fire pit, because this will determine the size and type of blocks you will need to purchase. We chose to do a circular fire pit with trapezoid blocks and rectangular bricks. Our fire pit measures about 4 to 4.5 feet across.
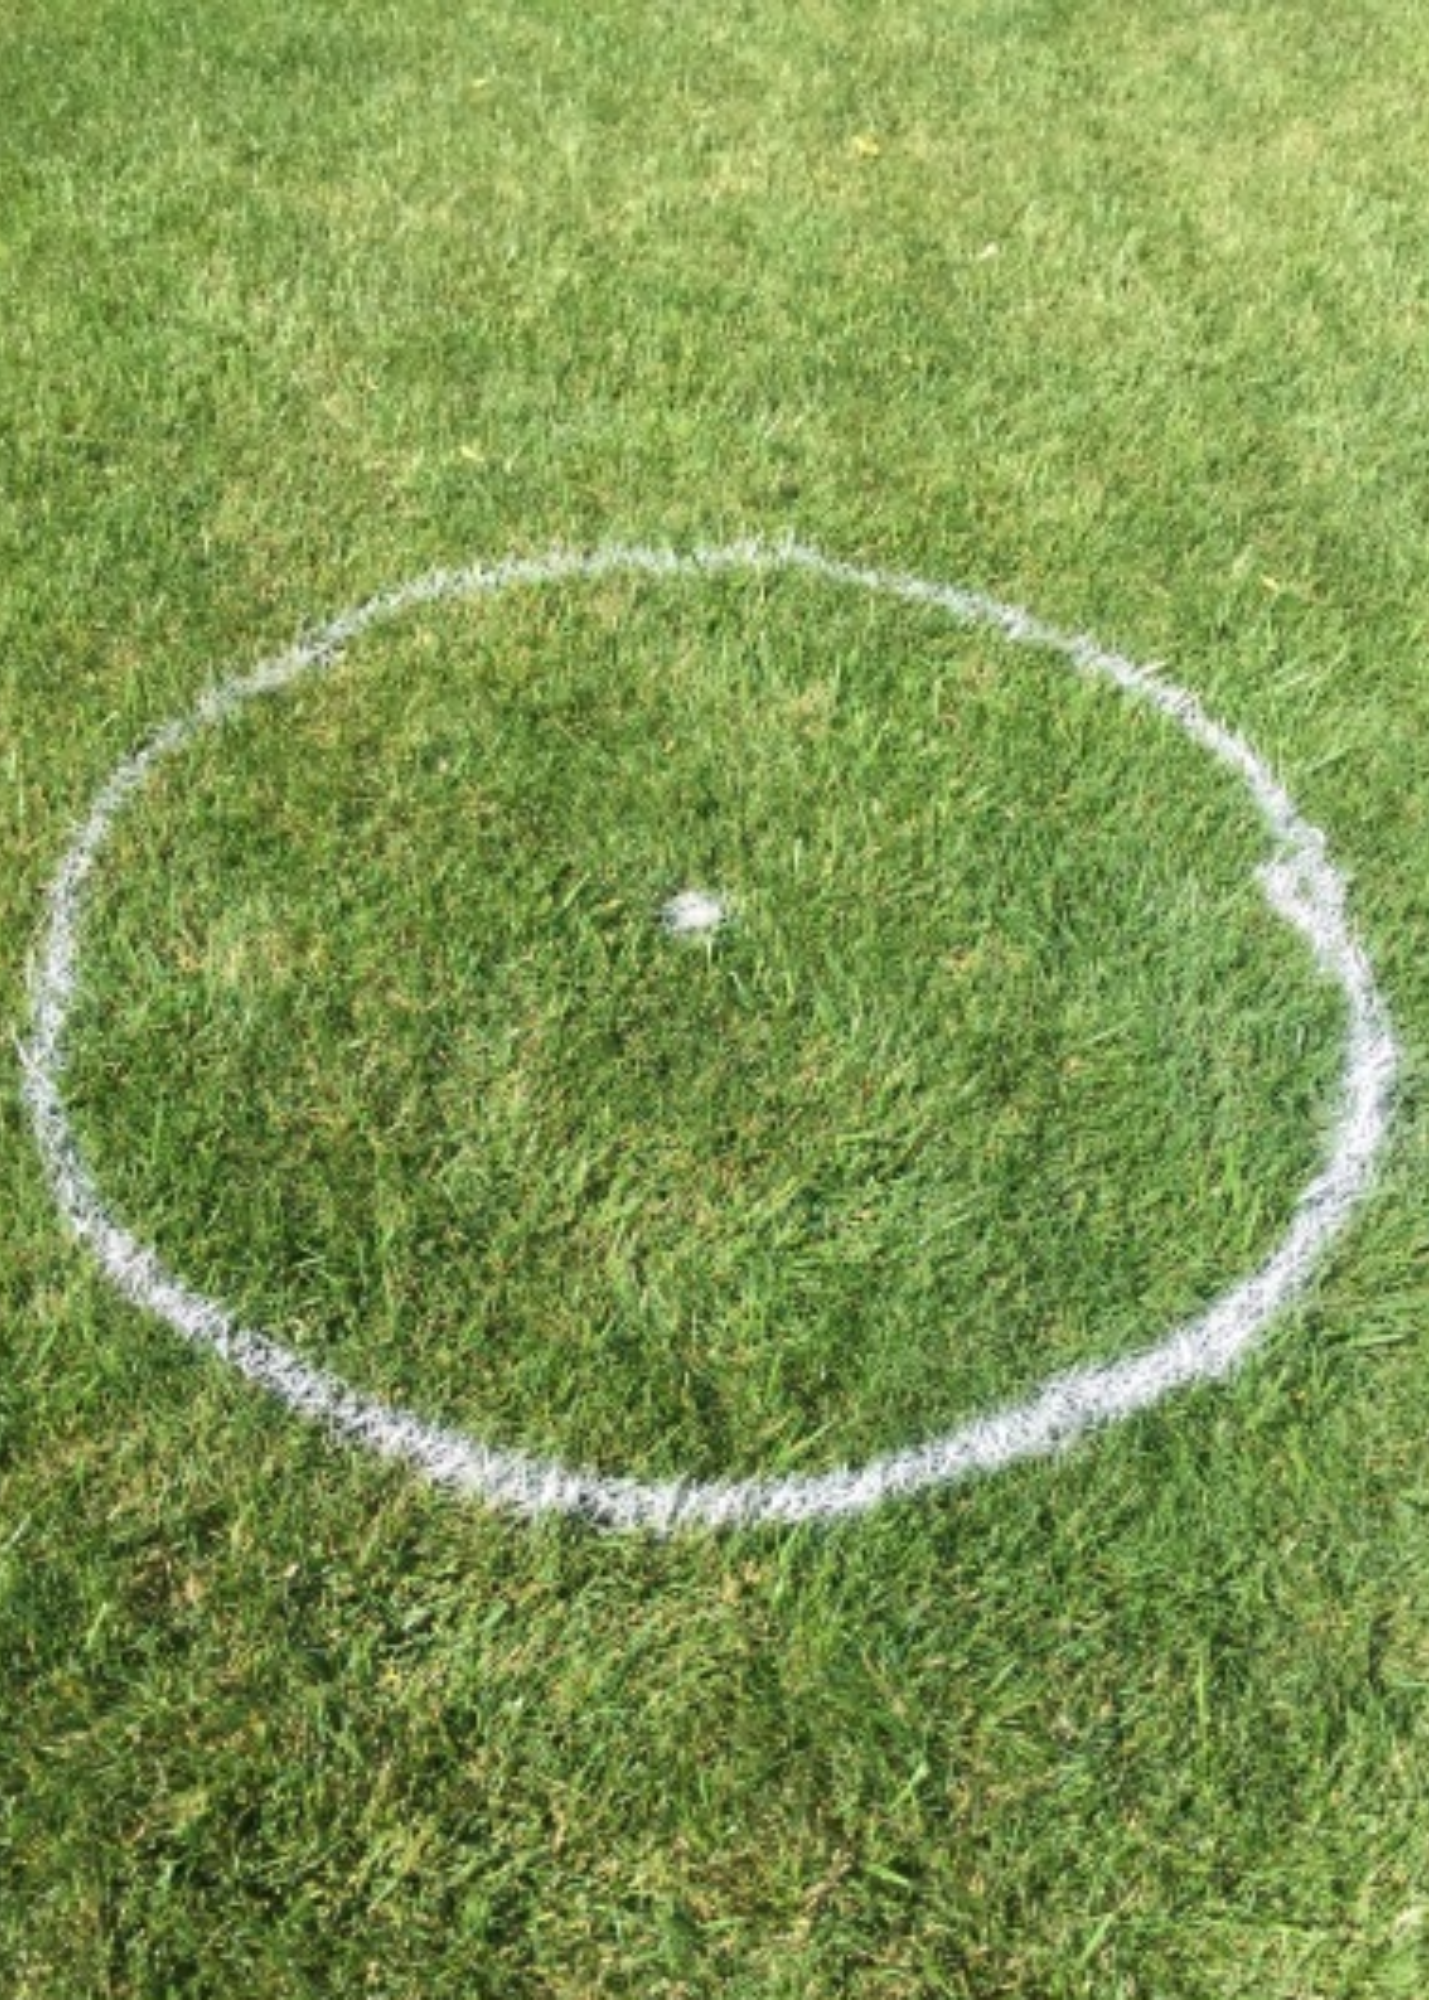
Now you can go ahead and mark and outline the perimeter of your fire pit so that you have a good visual on your work area. To do this, we drove a stake into the ground there the center of the fire pit will be. Then we attached a piece of string to a can of marking paint and drew a circle. The circle that we drew was big enough to contain the entirety of the fire pit.
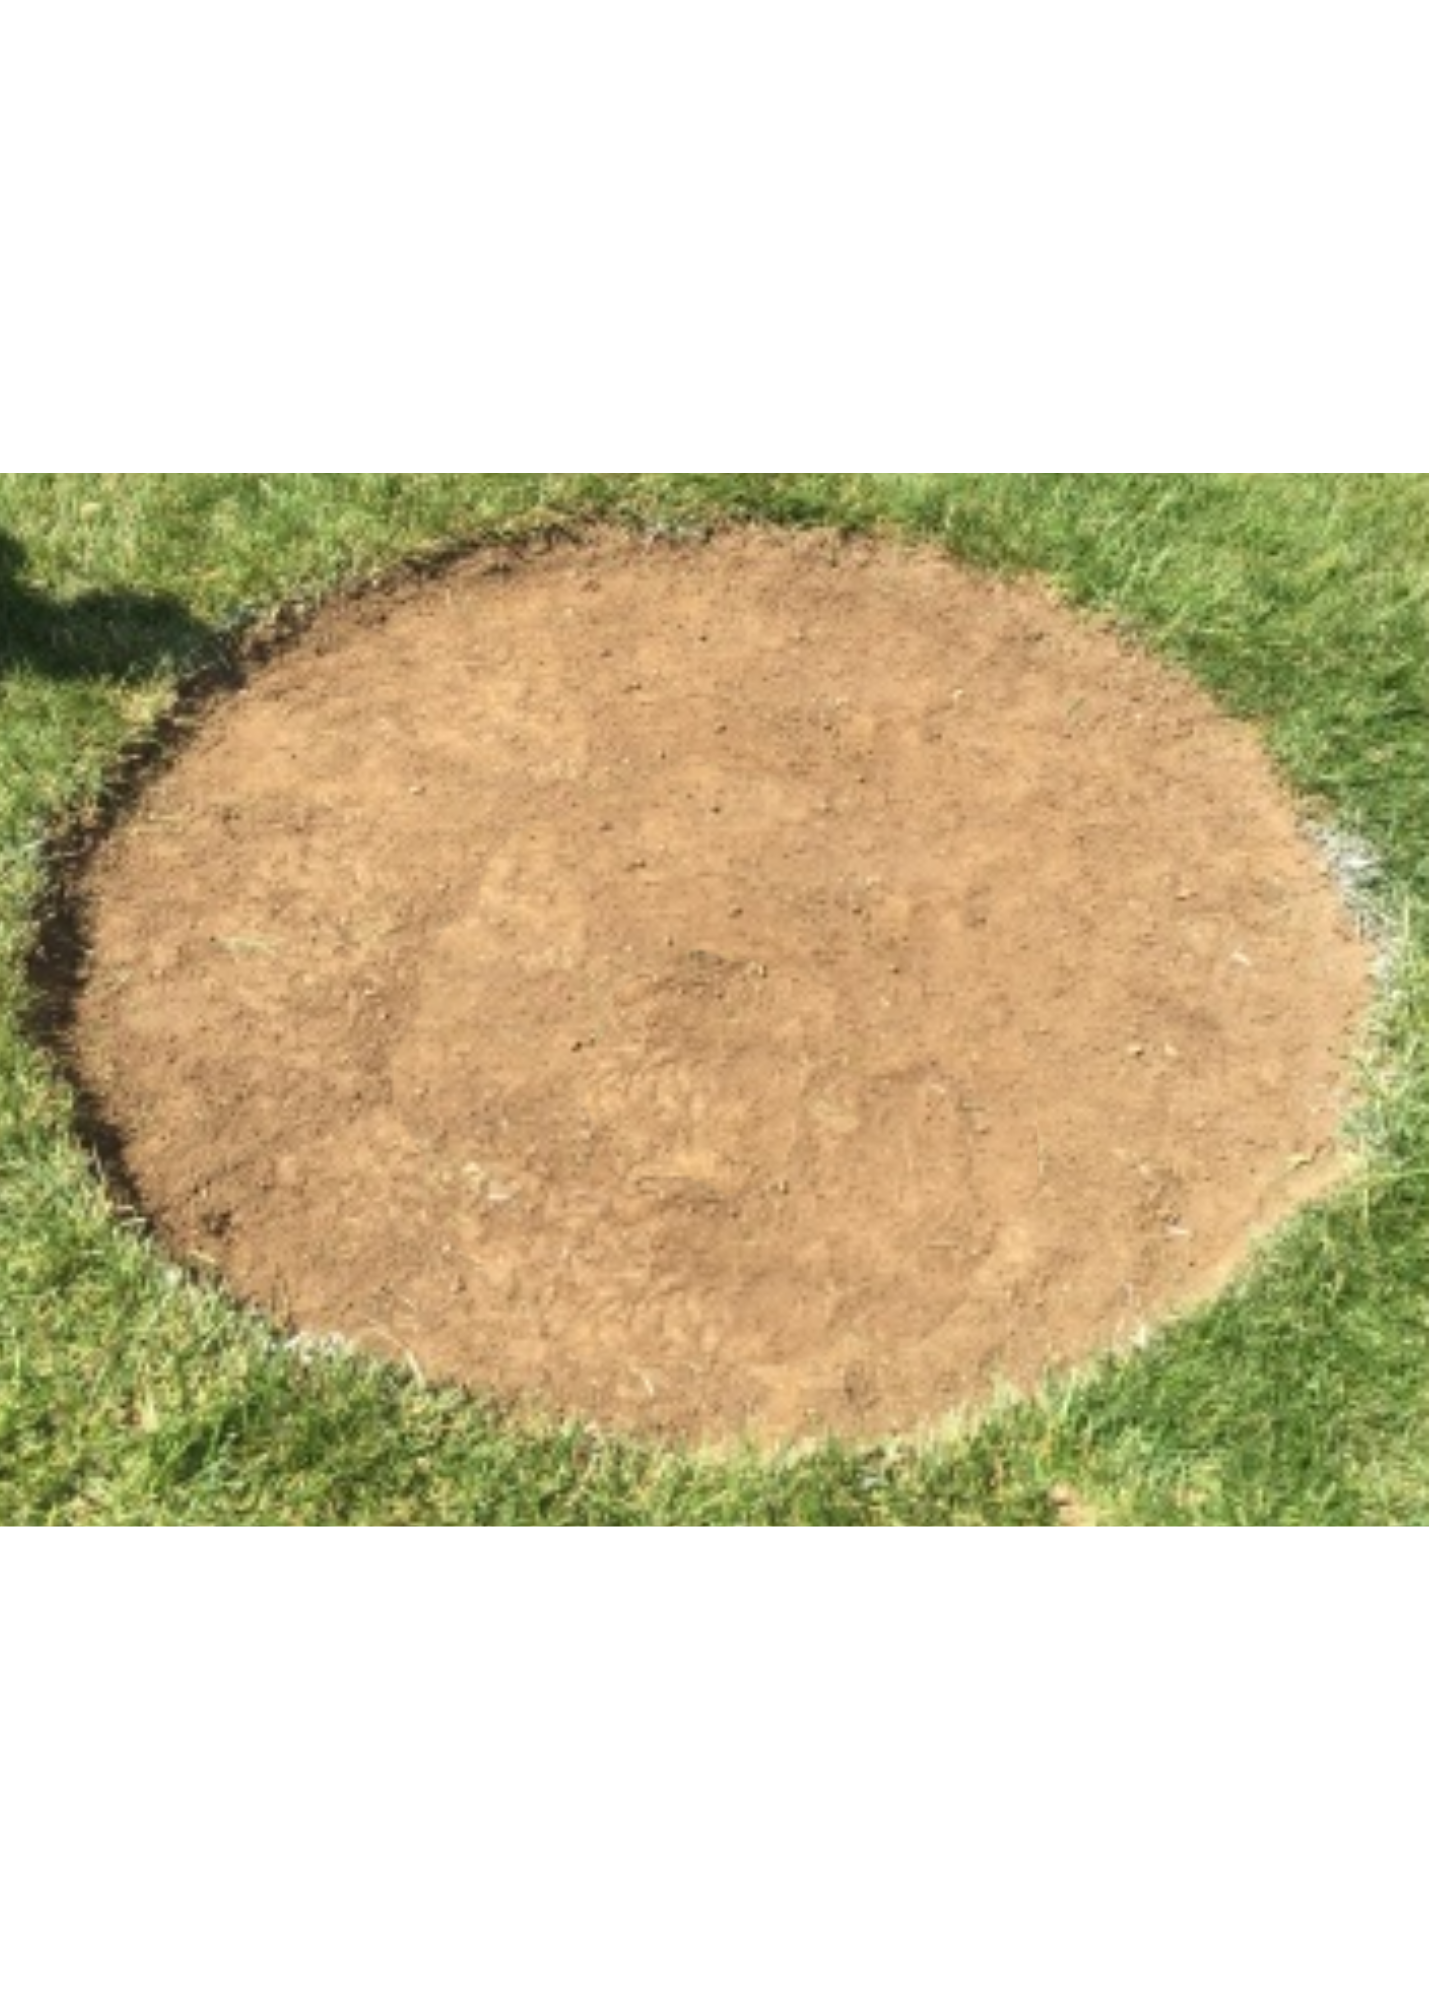
Next, you will use your shovel to remove the grass and dirt to a depth of around 7 to 8 inches from inside the perimeter of the circle that you marked.
Be mindful to keep the area as level as possible as you work.
We used a surface level that can be found and purchased from any of your hardware stores.
Next, you want to pour a good amount of crushed gravel into the hole, enough so that it will be about 4-5 inches thick.
Use your garden hose to wet the gravel generously so that you can compact it into a hard layer about 2 inches below the outer surface.
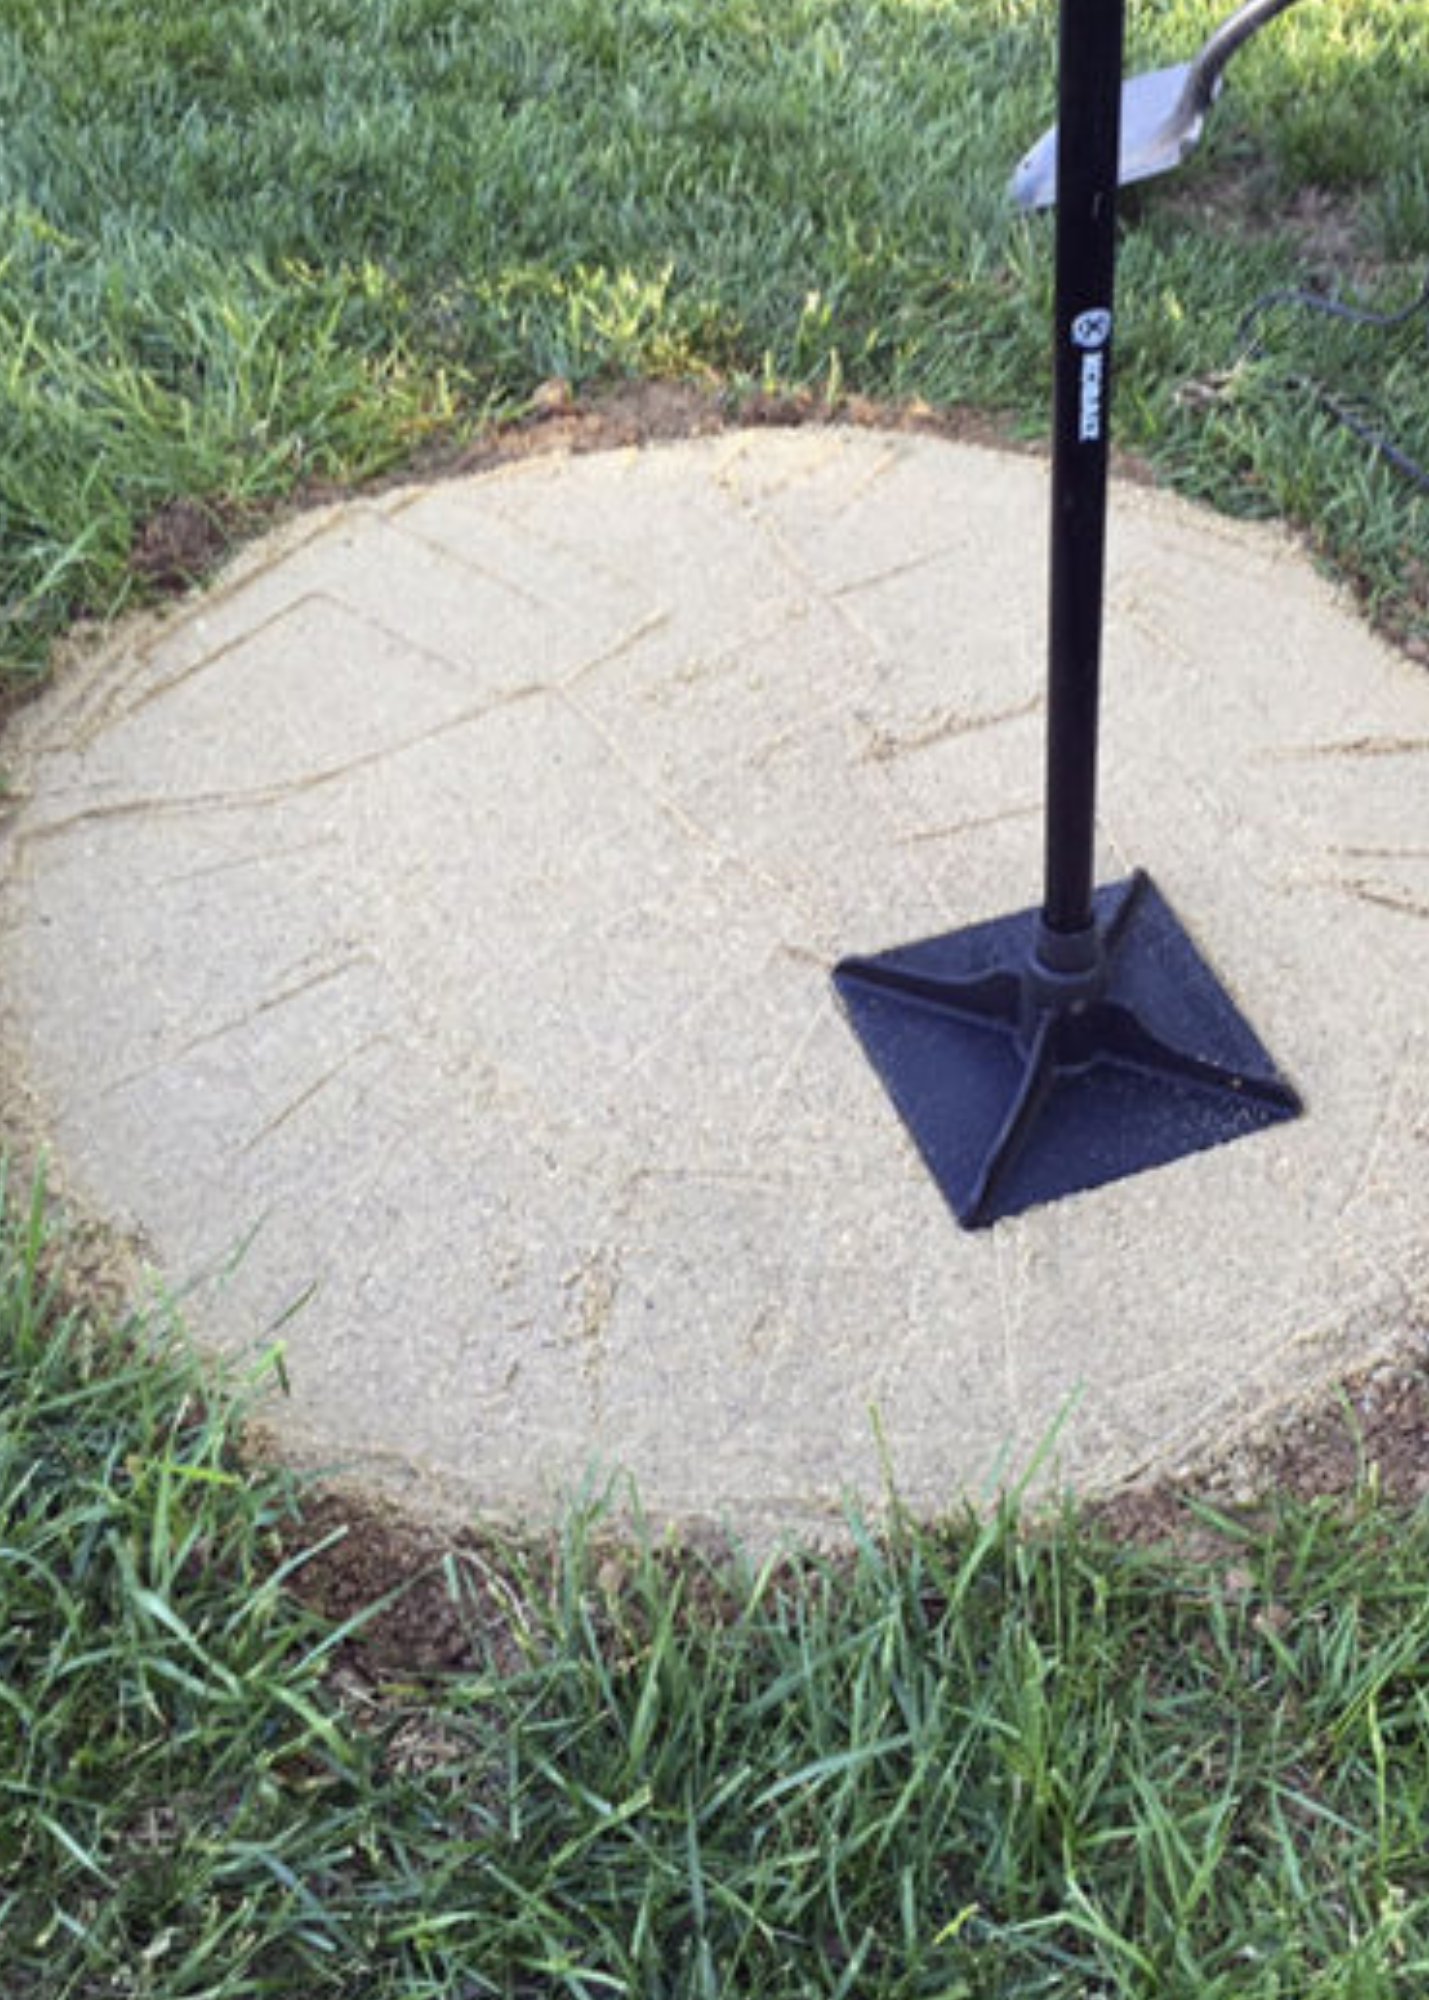
Next, we added a layer of sand to the base of the pit. This further helps to reinforce the level playing field that is needed for the fire pit. The sand also acts as a heat absorber that distributes the heat evenly throughout the fire pit.
Wet the sand with your garden hose and compact it into a smooth, even surface, making sure to check the base at several points to make sure it is level.
Now for the exercise portion of the project. This is the step where you lay out the first layer of pavers on top of the sand base.
Make sure that the pavers are touching as you add each block one-by-one around the perimeter of the hole. Keep your level handy as you want to make sure that the height is the same all the way around.
We used a total of 12 trapezoid pavers and 12 brick pavers for the base, placing the brick paver between two trapezoid pavers. This gave us the desired circumference that we were looking for.
Again, be mindful to use your level frequently to make sure that the structure is even.
Next, you want to lay the second layer of pavers on top of the first layer. We chose to stagger the trapezoid pavers so that the rectangle brick is directly in the middle of the underside of the paver. After you are satisfied with the layout, proceed to the next step.
Now, we want to use construction adhesive to secure the top layer of pavers to the bottom layer.
Remove a few of the top layer of pavers at a time and apply the adhesive to the bottom pavers before adding the top pavers back. This will securely bond everything into place.
We repeated this process 2 times because our fire pit has 4 rows of blocks.
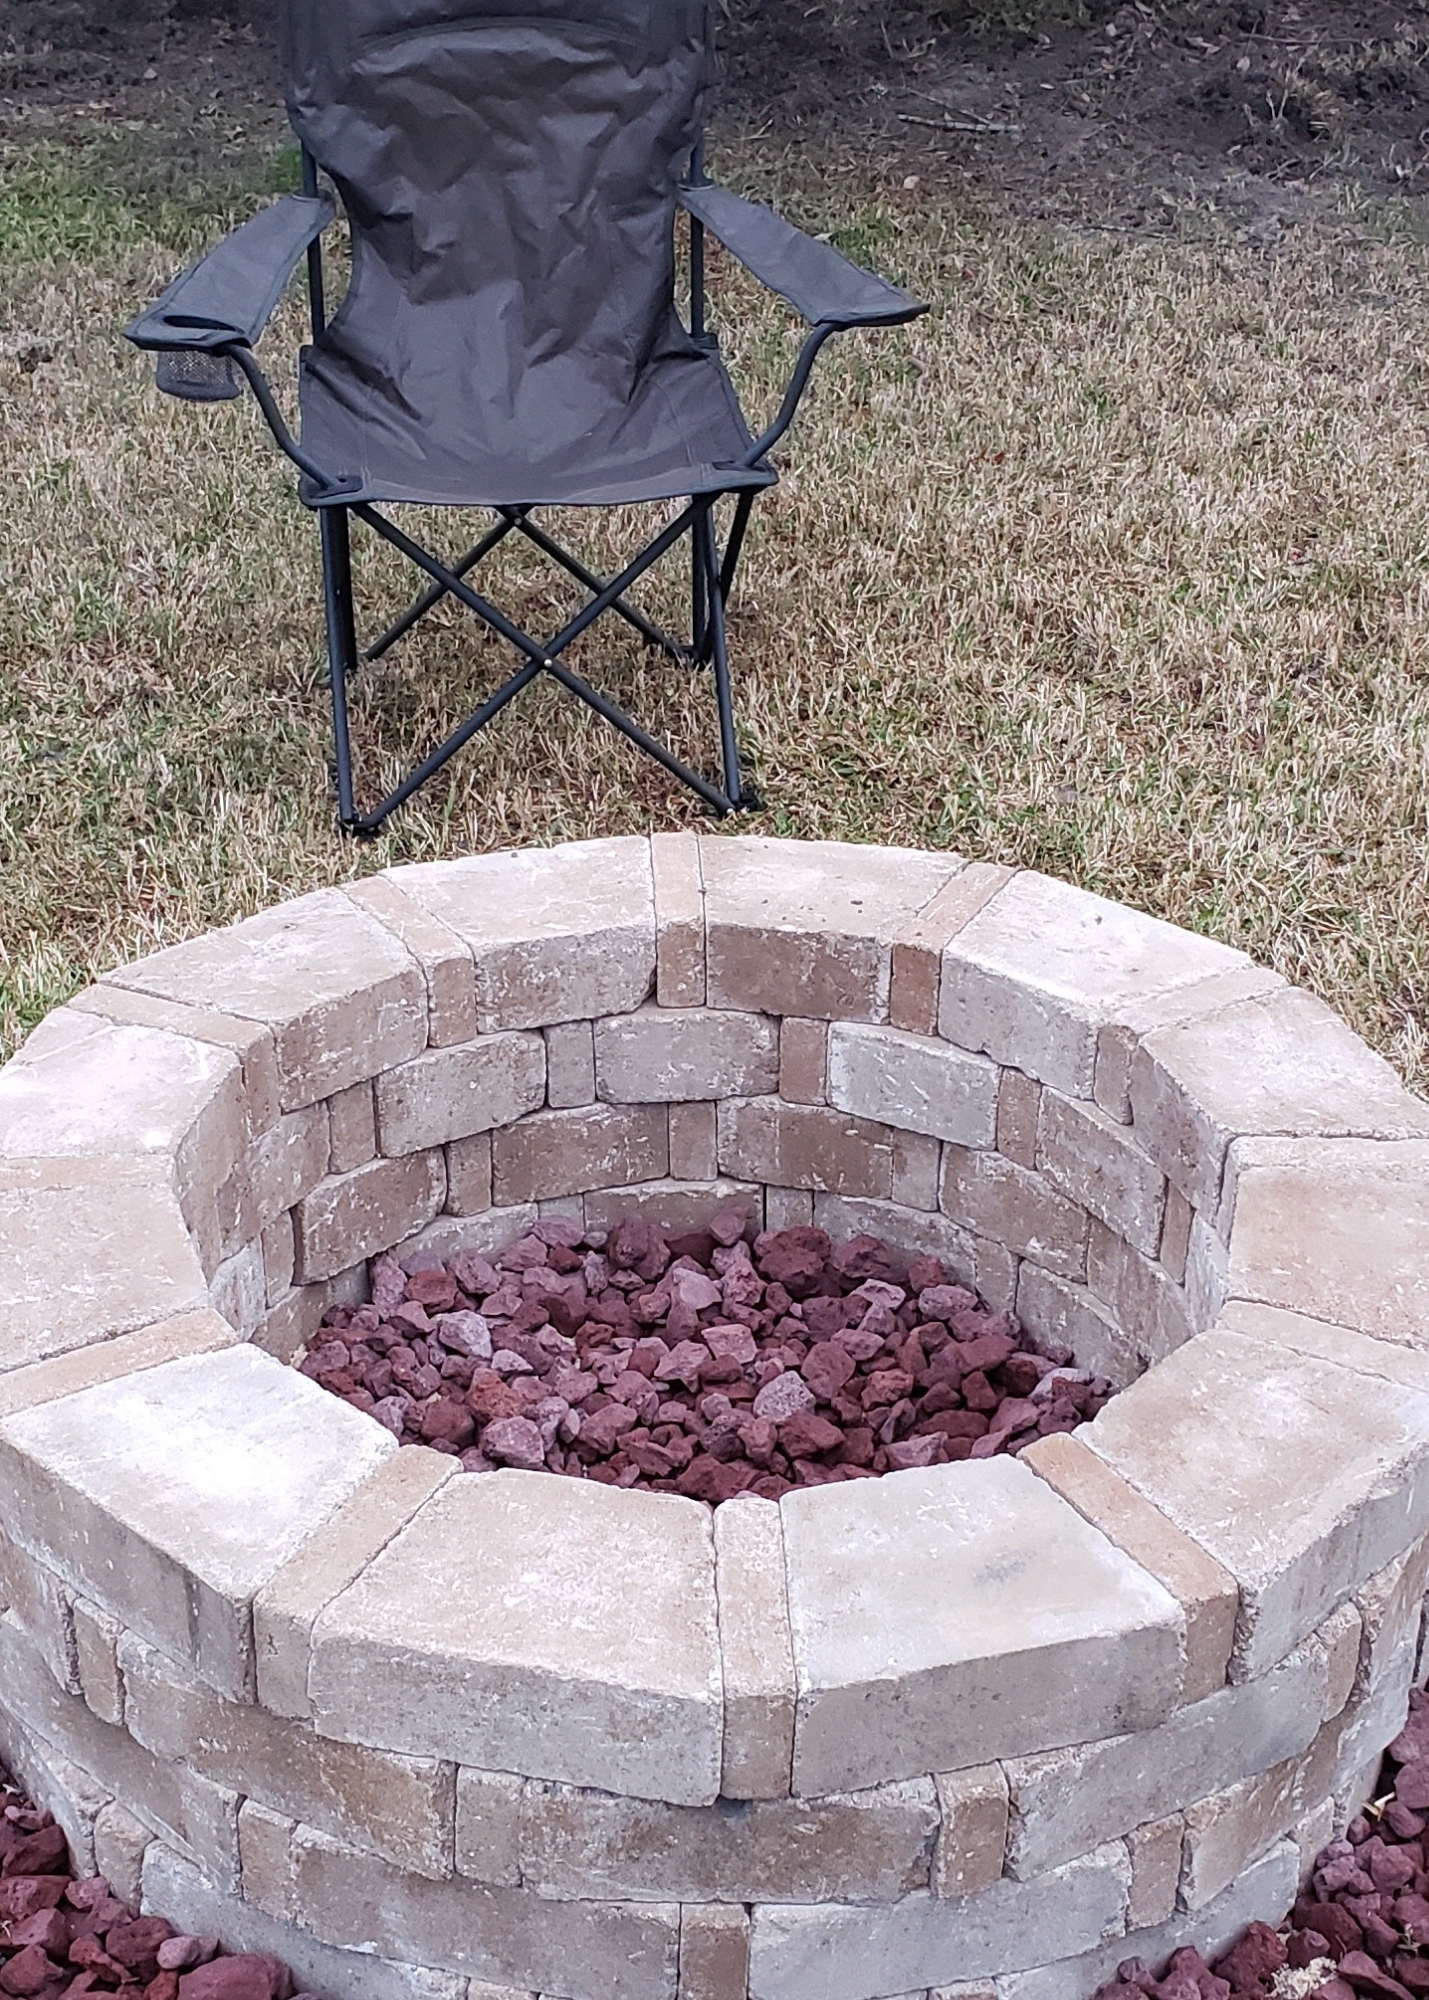
To line the inside of the finished fire pit, we added a 2 inch layer of lava rock. We also added a ring of lava rock around the outside of the fire pit for a decorative border.
Here is the finished project.
That’s pretty much it! You can add your favorite lawn chairs and potted plants for some extra fancy decor and make sure to enjoy your project!


Leave a Reply
Your email is safe with us.